Fun food, In the Pot
Making Homemade Pasta
Oh these wintry days are forcing me to stay inside and entertain myself. I had a whole afternoon to myself with all my appointments cancelled and nothing to do but play with flour, eggs, and olive oil. I found a pasta making recipe on the Restless Chipolte blog and decide to give it a whirl!
It’s time to bring out that brand new pasta machine that I got for Christmas!
In all my years of cooking, I’ve never gone down the “make your own pasta” road. My Mother used to make Haluski and dumplings…but never pasta.
Surprise, surprise! I didn’t know how easy it was…nor messy!
Putting the dough together is certainly easy…much like bread dough. The tricky part come with understanding the dough and the technique.
I used my Kitchen Aide mixer for mixing the dough and kneading it. It did make the mixer dance a bit and next time, I may try kneading by hand. (I need to work on my upper arms anyways!)
Once the dough is smooth and elasticy, let it sit for 30 minutes on a well-floured surface for the gluten to do it’s magic.
While the dough is resting, I took a small paint brush and brushed flour all over the working parts of the pasta machine. Flour is your best friend in making pasta!
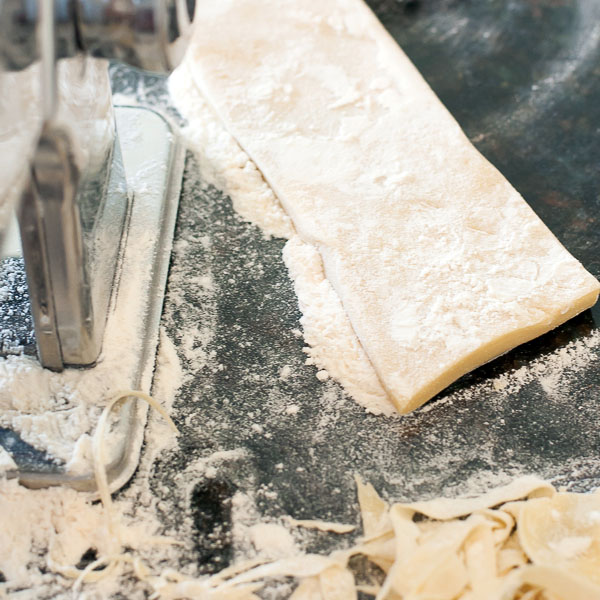
After the dough has rested, on a well floured surface – roll the dough out to about 1/2 thick and cut into slices that would be easy to put into the pasta maker.
Select one piece of the dough and cover the rest with saran wrap so it doesn’t dry out.
I keep a light layer of flour on my working surface to continually keep the dough floured as I put it through the pasta machine.
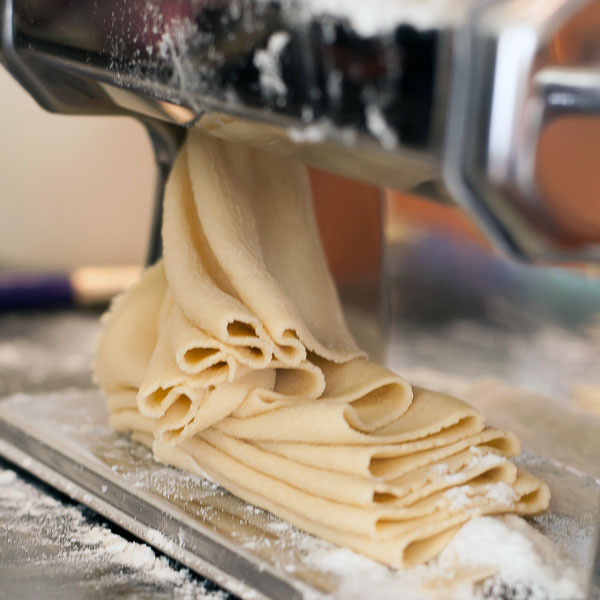
Now the fun part begins! Take your piece of dough and run it through the cylinder on your machine set on #1 for one to three passes or until the dough is the thinness that you desire. Keep the dough well floured as you do so.
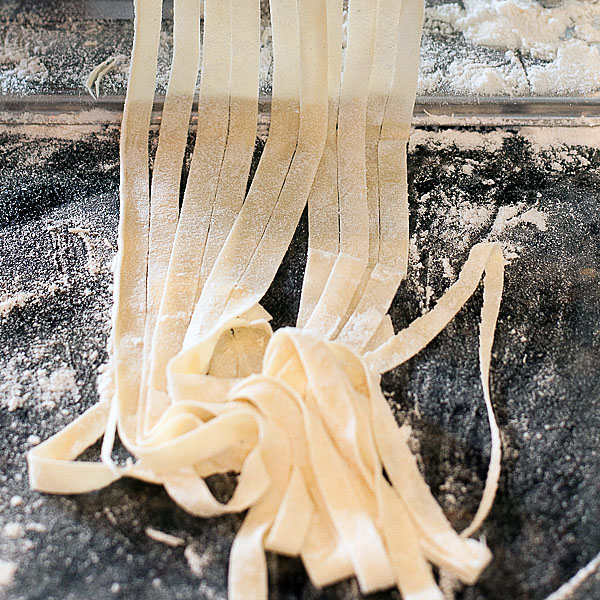
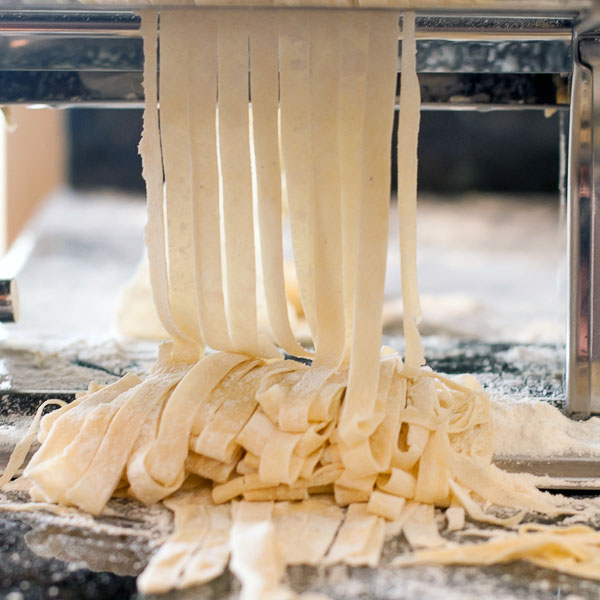
Once the dough is at the thickness to your liking, run it through the linguine or spaghetti setting on your machine. If the dough is well floured, it will come out like above and you will be able to gently pick it up and place it on a rack to dry.
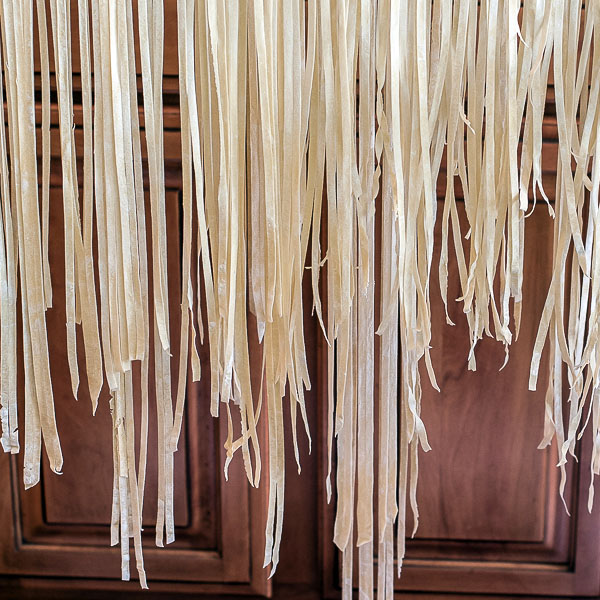
I don’t have a fancy schmancy pasta rack – so I took two dowels rods from Hubby’s work shop and placed it between two chairs. (I had to lock the dogs in the other room because they were nipping at the bottoms!) Let the pasta dry for about 30 minutes and remove from rack to coil into individual nests. This recipe makes enough for 8 servings so I made one half for dinner and froze the other half. The noodles will be brittle as they dry and I find coiling them into little nests works best.
When cooking fresh pasta- only cook in boiling salted water for about 2 minutes. It’s much more tender than store bought pasta – but oh! so delicious!
This is all new for me and I plan on experimenting with different pastas like spinach, herb and beet variations. Stay tuned and stay warm!
- 3½ cups all purpose flour
- 1 tablespoon salt
- 4 eggs
- 1 tablespoon good olive oil
- About 4 to 5 tablespoons of water (give or take)
- Blend the flour and salt together in a mixer (or bowl).
- Add the eggs, oil and half of the water.
- Mix slowly, adding more water as needed until the dough can be formed into a ball that holds together. don’t let it get too wet or it will be hard to work with.
- Knead (with dough hook on your mixer) for about three minutes, or until the dough is smooth and elastic.
- Cover with a clean tea towel and allow to rest for thirty minutes.
- Divide the dough into 4 parts.
- Roll each part out on a lightly floured board so that it will fit through the #1 setting on your pasta maker.
- If you are rolling by hand just roll each piece of dough out until it is as thin as you can get it and cut into the desired sizes.
- Rub a light coating of flour on the dough.
- Put the dough through the #1 setting about 5 times or more.
- Change to a #2 setting and put the dough through that setting two or three times.
- Change to a #3 setting and put the dough through that setting.
- Continue to make the dough thinner until it is as thin as you want it.
- Cut into desired shapes and allow to rest for a few minutes more.
- Place in salted, rapidly boiling water and cook until done – 2 or 3 minutes.

