Green stuff
Dilly Beans
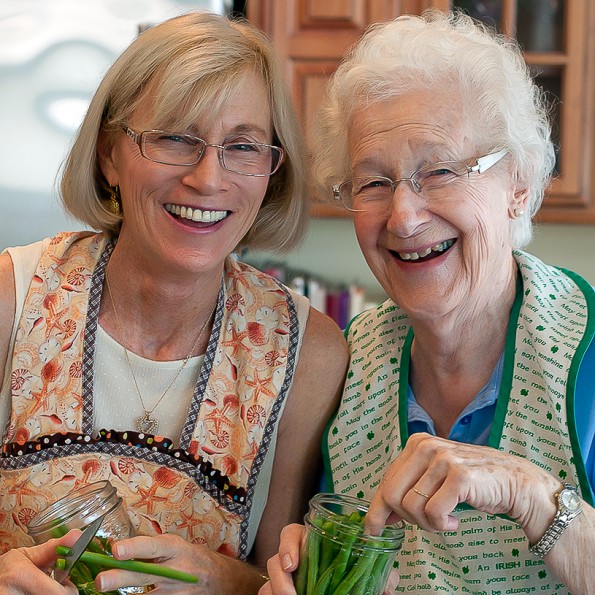
What a delightful, magical day I had today! Sometimes you just have to stop life and take time to spend your day with the ones you love. I bring to you today my best friend Kay’s mother’s recipe for dilly beans. Kay and her Mom have been such a positive force in my life for the past twenty years. Their love has carried me through some very difficult post-divorce years – including hugs, giggles, holidays, tears and Dilly Beans.
Kay’s mom – Jeanne – always gave me a jar of her Dilly Beans and once I opened them, I couldn’t stop. They ARE that good. Many times I asked for the recipe but never got it. Today was the next best thing! Not only did I get the recipe, I got Jeanne to supervise us over the making of these delicacies.
You see, Jeanne will be celebrating her 88th in a few weeks and we celebrated by having a Dilly Bean morning filled with banter, giggles and memories.
As the Dilly Beans are cooling on the shelf, I bring you Jeanne’s recipe.
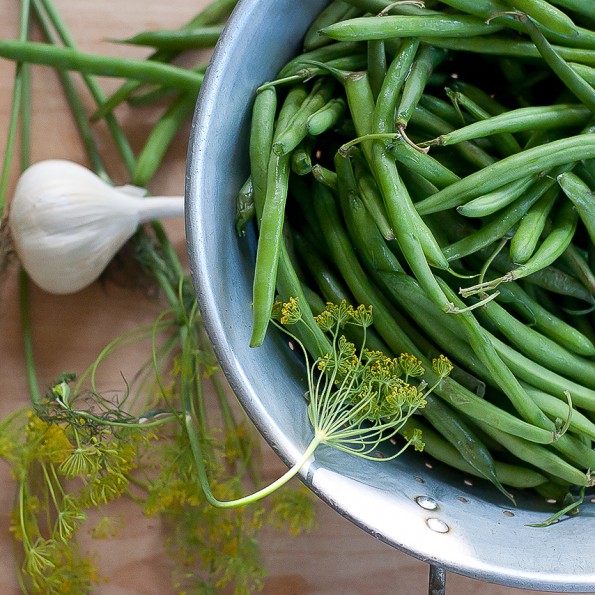
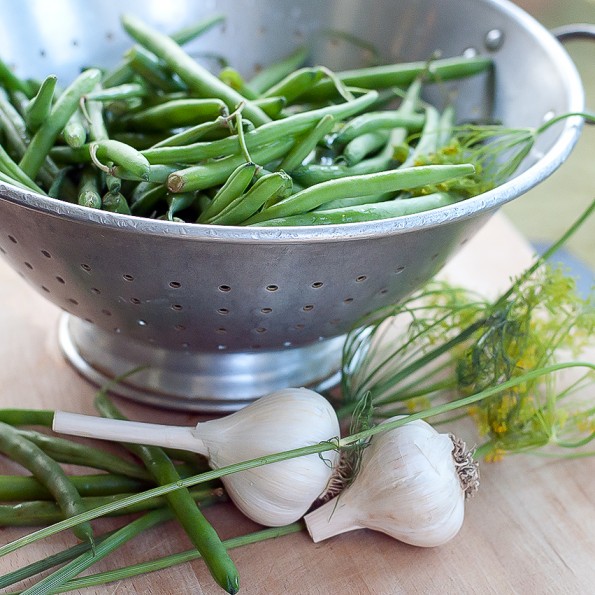
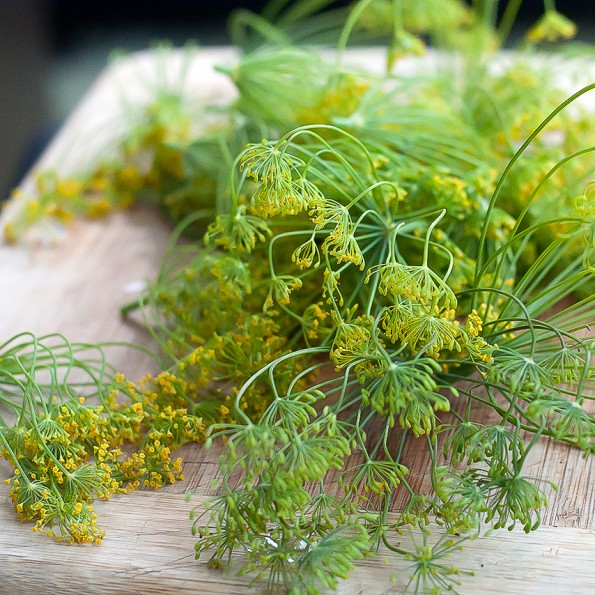
Start with fresh ingredients – Kay and I spent yesterday morning going to local farmer’s markets getting the freshest beans and dill with the biggest flowers. Kay happened to be at a garlic festival this past weekend (only Kay goes to garlic festivals!) and brought the most beautiful heads of garlic. Not complaining mind you…I only wished she invited ME to the garlic festival.
We quadrupled the recipe and had quite a belly laugh trying to do the math. Jeanne’s sly comment was “I never canned with two blondes before…”
Quadrupling the recipe produced 15 jars of Dilly Beans. If you are going to making them, I would suggest at least doubling the recipe because you will want to share these beauties.
Remove the flowers heads from the dill and wash. Prepare your garlic – leave the cloves whole or if you happen to be one of these people who goes to garlic fairs, the cloves may be huge so cut them in half! Clean and wash the beans – removing the tips at the end of the beans.
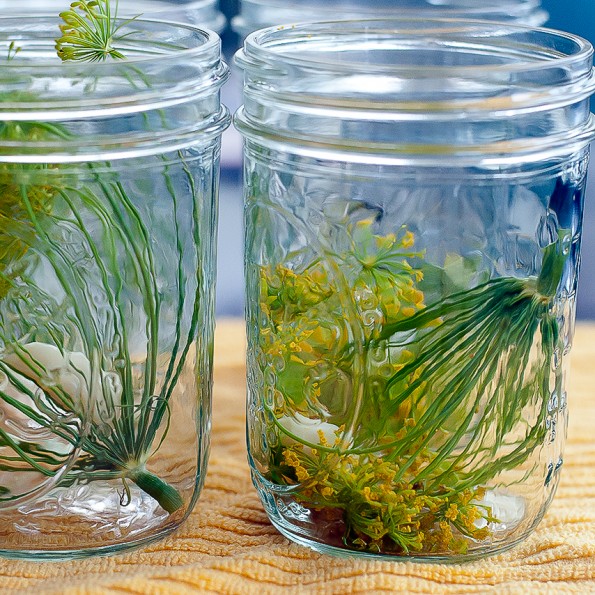
Into each jar (pint sized) place a clove of garlic, a dill flower and 1/4 tsp. – 1 tsp. of cayenne pepper. We go the 1/4 tsp. route for I don’t like too hot – adjust according to your tastes.
Start your canning pot filled with water and bring to a boil. Combine the vinegar, water and salt in another pot and bring to a boil. Once boiling, keep the pots hots until ready to can.
Place the cleaned, trimmed beans into each jar making sure that the beans only come up to 1/2 inch of the lip of the jar, trimming if necessary.
Fill all jars and bring the vinegar solution and the canning water to a boil. Pour the vinegar solution into each jar filling only up to 1/2 inch of the edge of the jar.
For canning – you need to sterilize your jars in a dishwasher along with the lids and screw on tops. Keep the rubberized lids in a pan of hot (not boiling) water until ready to assemble.
Place rubberized lid on top followed by the screw on top. Place in boiling canning water, making sure that the water covers at least 1/2 inch over the tops of the jars. Bring the water to a rolling boil, cover and let boil for 10 minutes. Remove from the canning pot and let cool on a wire rack.
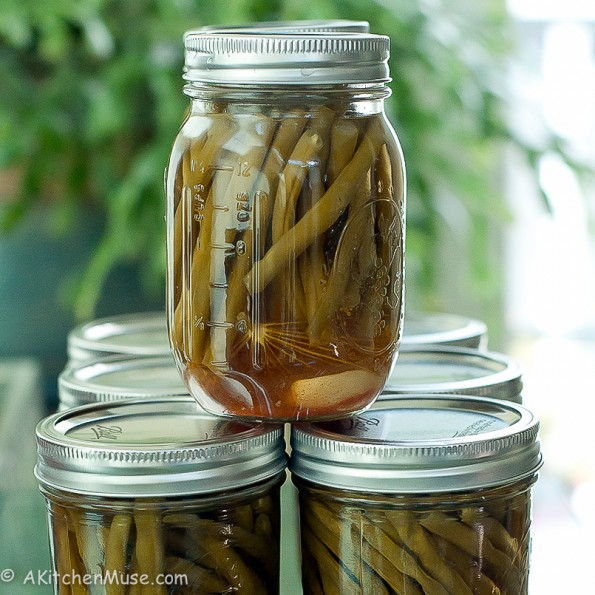
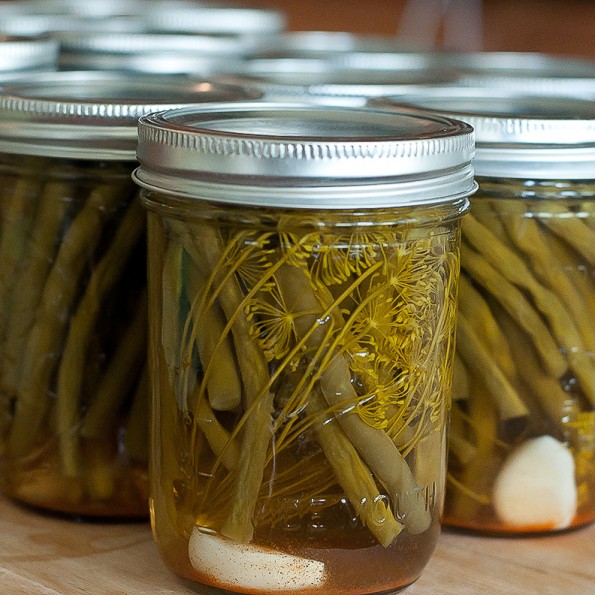
This is what you get – little jars of Dilly Beans. Unfortunately, you have to wait two to four weeks before opening them.
What I got is a wonderful day spent with my best friend and her mother – Jeanne.
Happy 88th Jeanne! Thanks for all the gifts you bring to everyone’s life!
- 2 lbs. green beans
- 1 tsp. cayenne pepper
- 4 cloves garlic
- 4 heads dill
- 2½ cups white vinegar (5% acidity)
- 2½ cups water
- ¼ cup pickling salt
- Wash beans and cut stems on both sides.
- Pack beans into hot sterilized pint jars lengthwise, leaving ¼” head space.
- To each pint, add ¼ – 1 tsp. cayenne pepper, 1 blanched clove of garlic, and 1 head of dill.
- Combine water, salt and vinegar, heat to boiling, and while boiling pour over beans leaving ½” head space.
- Adjust caps.
- Process pints in boiling water bath for 10 minutes, beginning when water comes to a second boil.
- Remove jars from water, complete seal (if necessary), and cool on wire rack.
- Let sit for 2 to 4 weeks before opening to allow flavor to develop.

